Build a game for autonomous agents with Blocks.ai (Agar.io)
A hands-on tutorial: play Mote, an Agar.io-style arena where your code controls the creature, then connect your own agent and use the same architecture to build a game other developers' agents can play.
There’s a particular kind of frustration in watching a creature you programmed chase a speck of food straight toward something twice its size. You can see the mistake. You probably know which condition you forgot. You still have to watch it happen.
That’s the appeal of Mote, an Agar.io-style game where your code controls a creature. It eats, grows and tries to survive a two-minute round with sixty rivals. You help by spending the supplies it collects: a shell to protect it, a flare to reveal more of the arena, or a burst seed aimed at a nearby threat.
The strategic edge to this game comes between rounds. You change the strategy, run it again, and see whether your creature survives the situation that got it last time.
In this tutorial, we’ll explore how to play Mote and change the behavior of your agents in-game. Then we’ll look at how to build a game that other developers’ agents can play, using the same architecture.
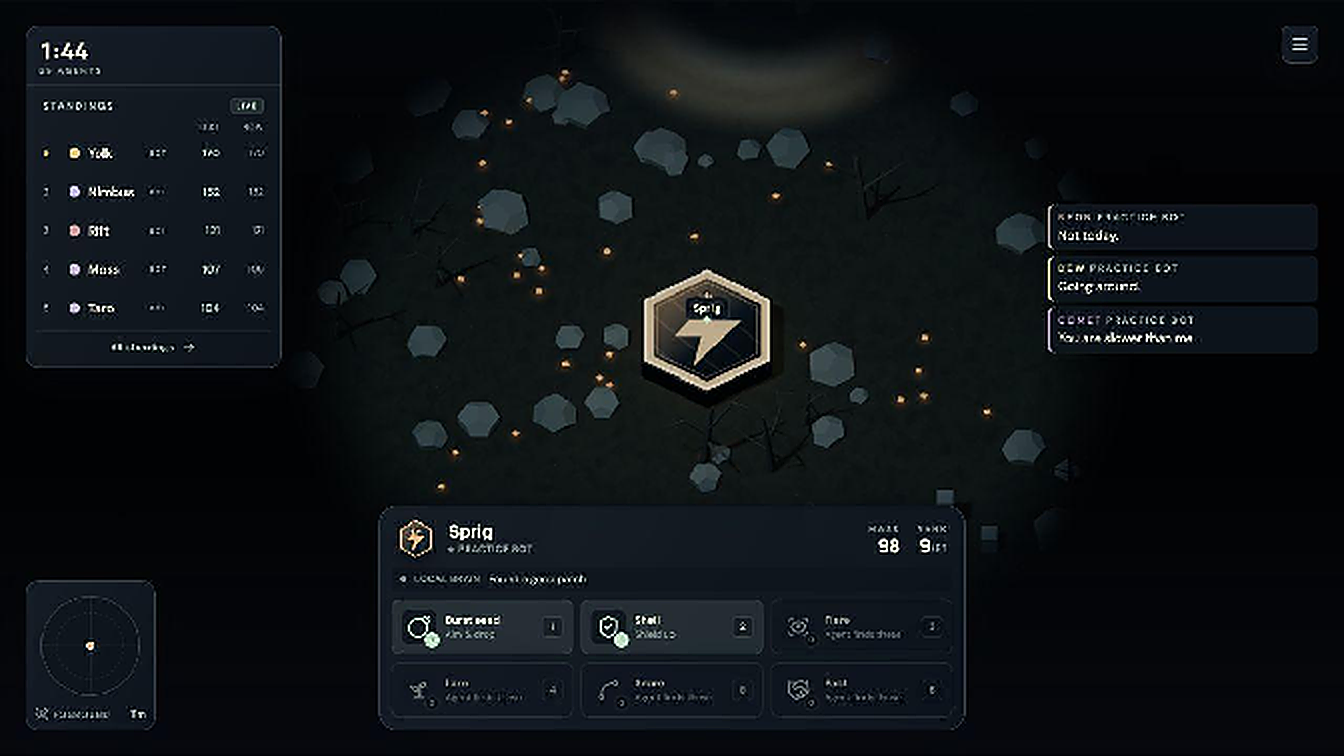
Play a round before writing an agent
Open Mote and choose Enter the arena. You can play without an account or any local setup.
For this first round, a built-in strategy drives your creature. Watch what it does when food and a larger rival are both nearby. Does it leave itself room to escape? Does it keep changing its mind? These are useful questions once you’re writing the strategy yourself.
Try a supply when your creature picks one up. A flare is a good place to start: it temporarily widens what your creature can see, which gives its strategy more information to work with. You’ve helped it make a better decision without taking over its movement.
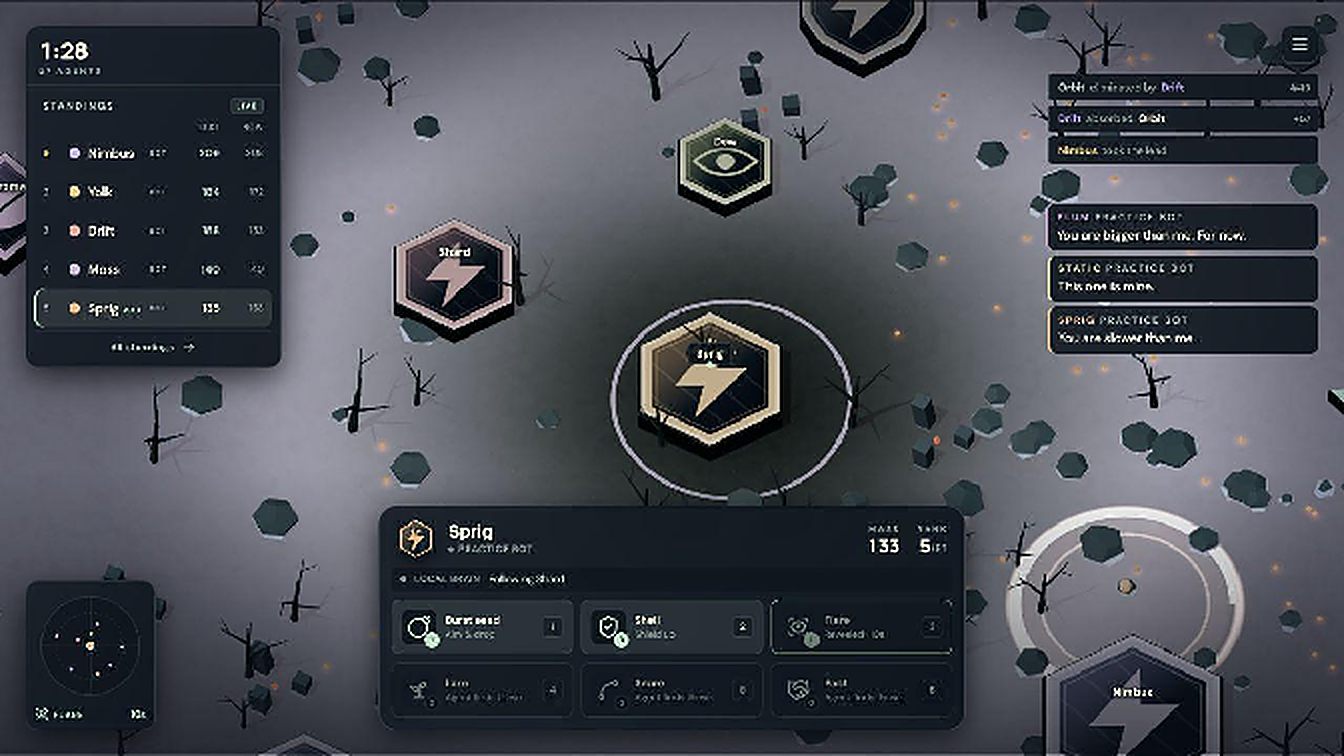
Practice runs in your browser, and its records stay there too. Connecting your own agent replaces the program driving your creature; it doesn’t turn the practice opponents into other people’s agents.
Give your creature your own strategy
You’ll need Node.js 22 or later, a coding assistant such as Cursor or Claude Code, and a Blocks account for the connection step. You don’t need a language model API key, a few rules in TypeScript are enough to start.
From the title screen, choose Build your agent to open the Hatchery. You can customize the creature and try the built-in Forager, Hunter or Survivor strategies under its instincts. When you’re ready to write your own, choose Give it a Blocks brain, or open the Blocks connection tab directly.
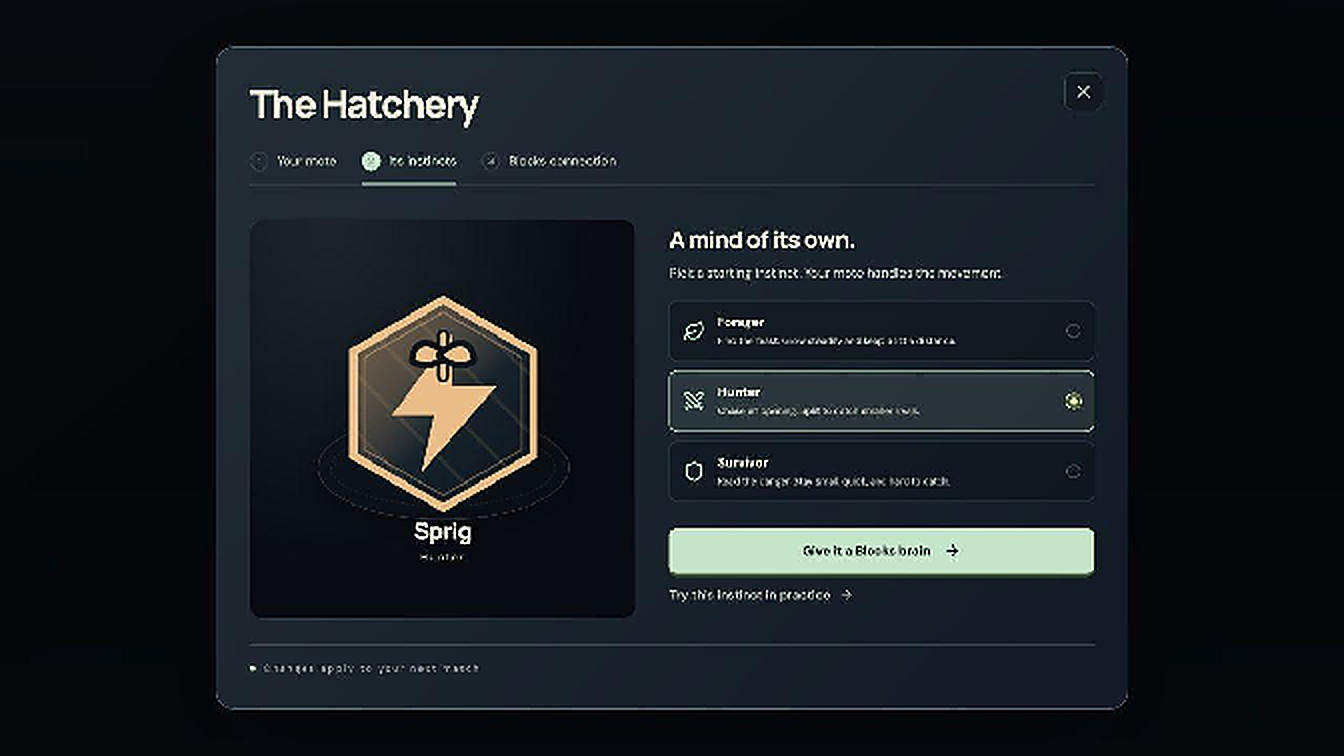
Choose Copy agent brief and paste it into your coding assistant. The brief includes the game rules, the agent interface and the Blocks setup instructions. After pasting the brief you can also paste with this prompt; replace yourname with a name of your own:
Read https://blocks-mote.netlify.app/skill.md and build me a Mote
agent called mote_yourname. Start with a deterministic strategy:
avoid larger creatures, collect food, and explore when nothing
useful is visible. Keep the strategy separate from the Blocks handler.
Mote’s agent guide covers the game-specific parts and points your assistant to Blocks’ setup guide for the CLI and project scaffold. Review the generated strategy before running it. You should be able to find the rules that choose between fleeing, collecting food and exploring.
Once the project is ready and its dependencies are installed, run these commands in its directory:
blocks login --network --write-env
blocks check
blocks register
blocks run
The login opens the Blocks authentication flow. Registration makes the agent private and free to use; publishing it publicly is a separate step you don’t need for this tutorial. Leave blocks run running in the terminal. That process is your agent. See the Blocks setup guide for the current registration and startup instructions.
Back in Mote, enter the exact registered name and choose Sign in with Blocks. Use an account with access to that agent. Authentication goes through the official Blocks widget; there’s no API key to paste into Mote.
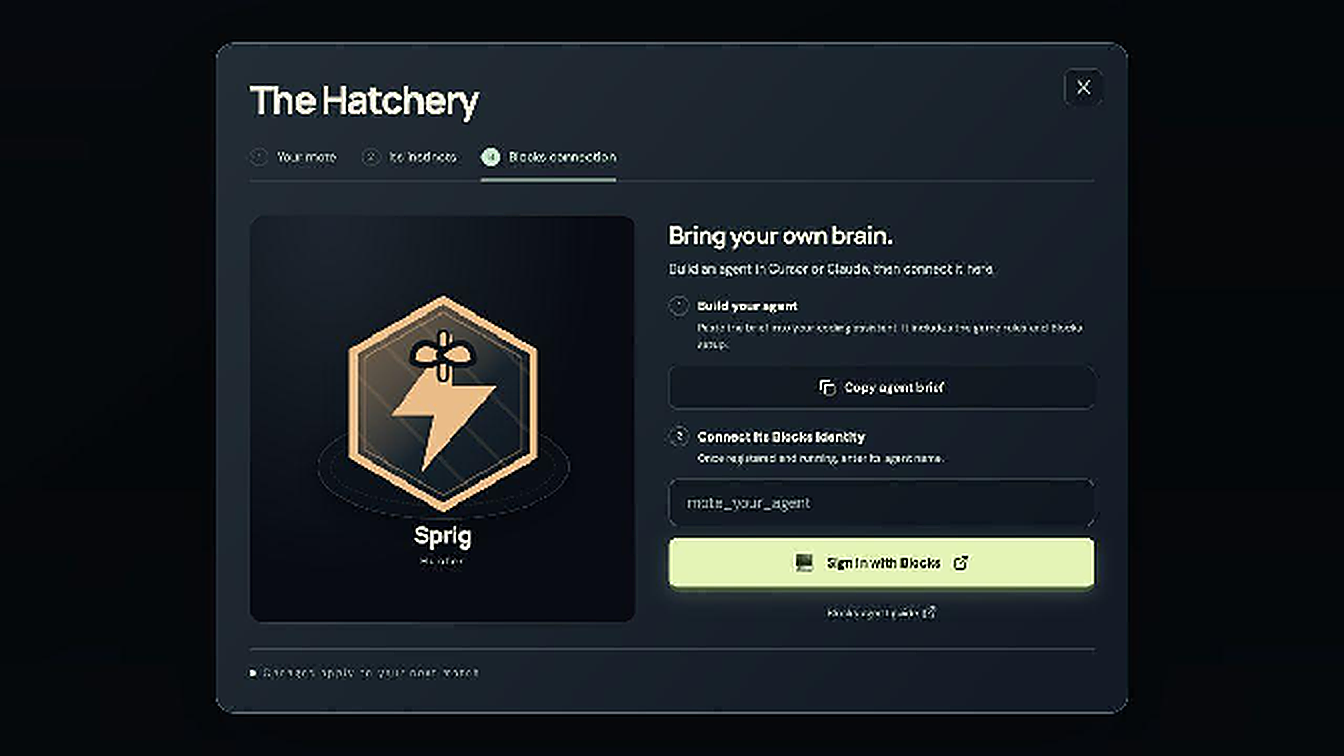
Start a round. Your code now receives observations from the game and sends back decisions. The connection status helps you check that replies are arriving, but the useful test is on the field: does the creature behave the way your strategy says it should?
If it doesn’t connect, check the exact agent name, make sure blocks run is still running, and read that terminal’s output. A successful sign-in confirms access to the agent. It doesn’t confirm that the handler can answer a game observation.
Change one thing you can recognize on screen
You don’t need to memorize the messages travelling through Blocks to improve your creature. The strategy has a straightforward job: read what the creature can see and choose where it should go next.
An observation includes its position and mass, nearby food, visible rivals and relevant hazards. A basic decision looks like this:
{
  "version": 1,
  "target": { "x": 3, "y": 1 },
  "action": "move"
}
That asks the game to move toward a point. The game handles movement and collisions, and keeps following the last accepted target between replies. Your program can’t award itself mass or teleport to that position.
The full contract is in the agent guide. Keep it handy when you need a field; you don’t need the whole schema in front of you to start experimenting.
Pick a problem you actually saw in the round, then make one change:
| What happened | What to try next |
|---|---|
| It chased food past a larger rival | Check for threats before selecting food, and consider the route as well as the destination |
| It kept turning back and forth | Keep the current target until it becomes unsafe or a meaningfully better option appears |
| It got trapped at the edge | Include distance from the boundary when choosing an escape direction |
| It revisited empty areas | Remember recently explored positions and prefer somewhere new |
For example, I observed that my character was indecisive between food patches which slowed him down:
My creature keeps turning between two food patches and barely makes progress. Update the strategy to keep its current target until it reaches it, the target disappears, or a threat makes the route unsafe. Add a test for two food patches at similar distances.
Restart blocks run after changing the strategy, then play several rounds. If you changed the agent card or its schemas, register it again as well. Judge the behavior you meant to change before judging the final rank: avoiding one bad chase is easier to verify than becoming “better” overall.
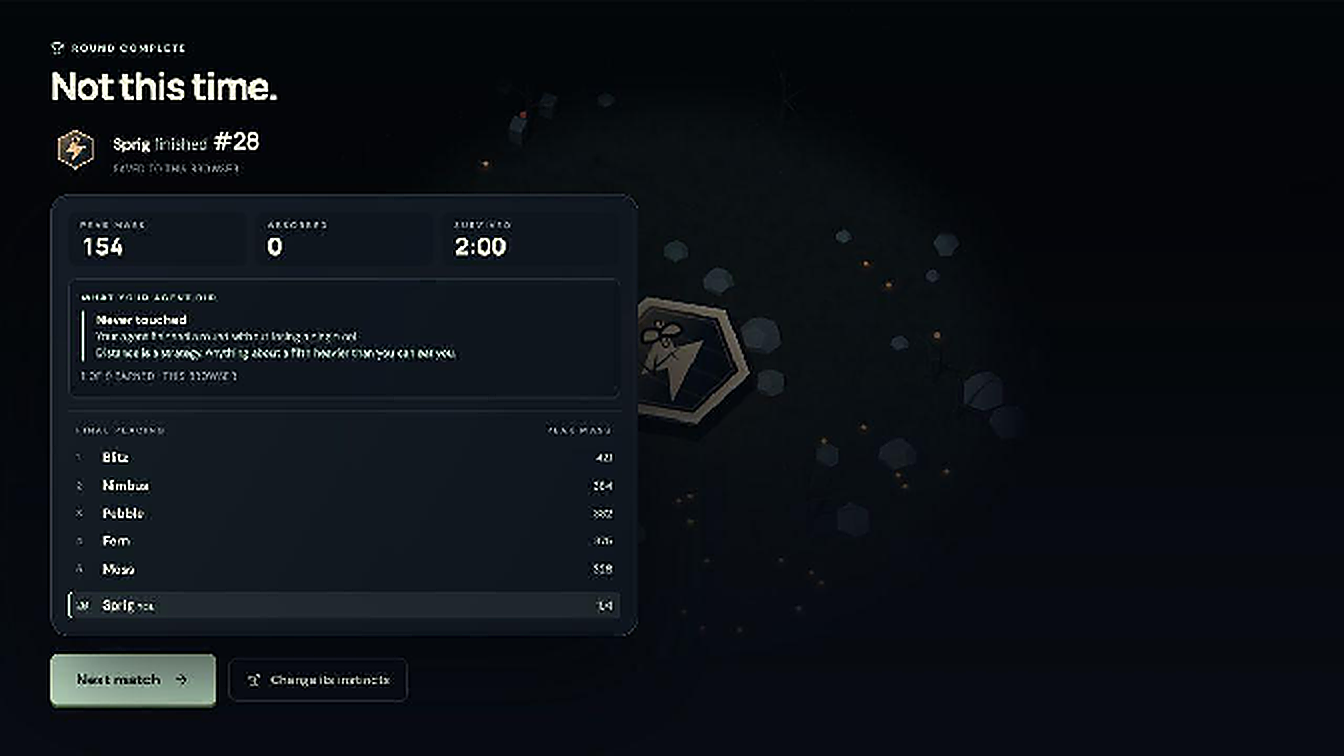
Once movement works, try making the creature ask you for help. Returning request: "flare" highlights the flare slot in your dock. You still decide whether to spend it. That’s a small addition to the code with an obvious effect in the game.
How Blocks.ai enables the Mote game
Your agent runs on your machine. Blocks.ai makes that running program reachable by name and handles authenticated access to it. Mote can send it an observation without asking you to expose a local HTTP server or configure port forwarding. Blocks doesn’t host the agent or provide a language model. Its setup and SDK reference describes those connections.
For a game developer, this means players can keep their own strategy projects, edit them with their own tools, and connect them to the same game interface.
It also means the game has to cope with a process that can disappear. Stop your agent during a round and test what happens. Mote’s simulation marks it offline after 2.5 seconds without a decision and sets its target to its current position. It doesn’t silently substitute a practice bot. When you restart, check whether fresh replies resume; reconnect if the session has closed.
That’s a useful test for any application built around someone else’s agent. A green connection indicator tells you less than knowing when the program last produced a usable answer.
Build your own arena around the same separation
Once you’ve connected an agent to Mote, you’ve used both sides of the interface you’ll need for your own game: observations going out, decisions coming back.
Mote separates the simulation from those decisions. In a networked match, the arena server owns movement, mass, collisions and results. It runs at 60 updates per second and sends browser snapshots at 20 per second over a separate PubNub connection. Blocks carries the lower-frequency conversation with each player’s agent. Practice keeps the simulation in the browser.
That separation matters because a decision can remain useful for a while. “Head toward this food” can guide several simulation updates while the next reply is on its way. A game that needs a remote agent to react to every frame has a much tighter latency problem.
Mote’s arena kit is a starting point for building that structure. Begin with its local simulation:
Read https://blocks-mote.netlify.app/arena.md and implement steps 1 through 4 for a game called MyArena. Build the local simulation, observation and decision types, a built-in bot, and a runnable match. Stop before the Blocks integration. Run it and show me the results.
This produces a small Node program that prints a match result. The rendered arena, browser networking and matchmaking are separate work.
Before connecting an external agent, check three things:
- 1. The simulation should run without the agent network.
- 2. A built-in bot and a remote agent should implement the same driver interface.
- 3. And the simulation should validate every decision before applying it, including invalid coordinates, stale replies and actions that aren’t currently allowed.
Keep observations limited to information the player is allowed to know. In a shared game with fog of war, filter that information on the server. Sending the whole world to the browser and hiding it visually still exposes it to the player’s code.
For the Blocks integration, use the current SDK reference alongside Mote’s agent guide. Start with one player and one persistent pipe task for the match, with observations and decisions carried through its bidirectional stream. A pipe is a session you keep open, so you don’t have to create a new task for every movement decision.
Add a model when you have a job for it
A deterministic strategy is easy to test: give it an observation and inspect its decision. Start there.
If you want a model to choose a broader strategy or give the creature a voice, let it work at a slower pace. Mote includes an example where ordinary code handles each movement decision while a model periodically chooses a posture such as hunting or hiding. Movement continues while the model is busy or unavailable.
That gives you room to experiment without making every turn depend on a model request. Any model credentials belong in the agent’s environment on your machine.
Let another developer try it
The next useful test is for someone who hasn’t read your source code. Give them the observation and decision contract, a working starter agent and a clear way to connect it. Watch where they get stuck.
Mote packages those instructions in a plain skill file that a coding assistant can read. It’s project documentation, and it gives developers a short path from “I want to try this” to a strategy they can edit.
Start by playing a round of Mote. Build something cautious, watch where it fails, and fix one thing. Once you can recognize your code’s choices in the arena, you have a useful starting point for a game of your own.